Getting started: your first sign-up
This walkthrough covers everything from creating your TrustedLogin account through seeing your first dashboard and turning on two-factor authentication. If you get stuck at any step, check the Getting Started guide or reach out through the support link in your account.
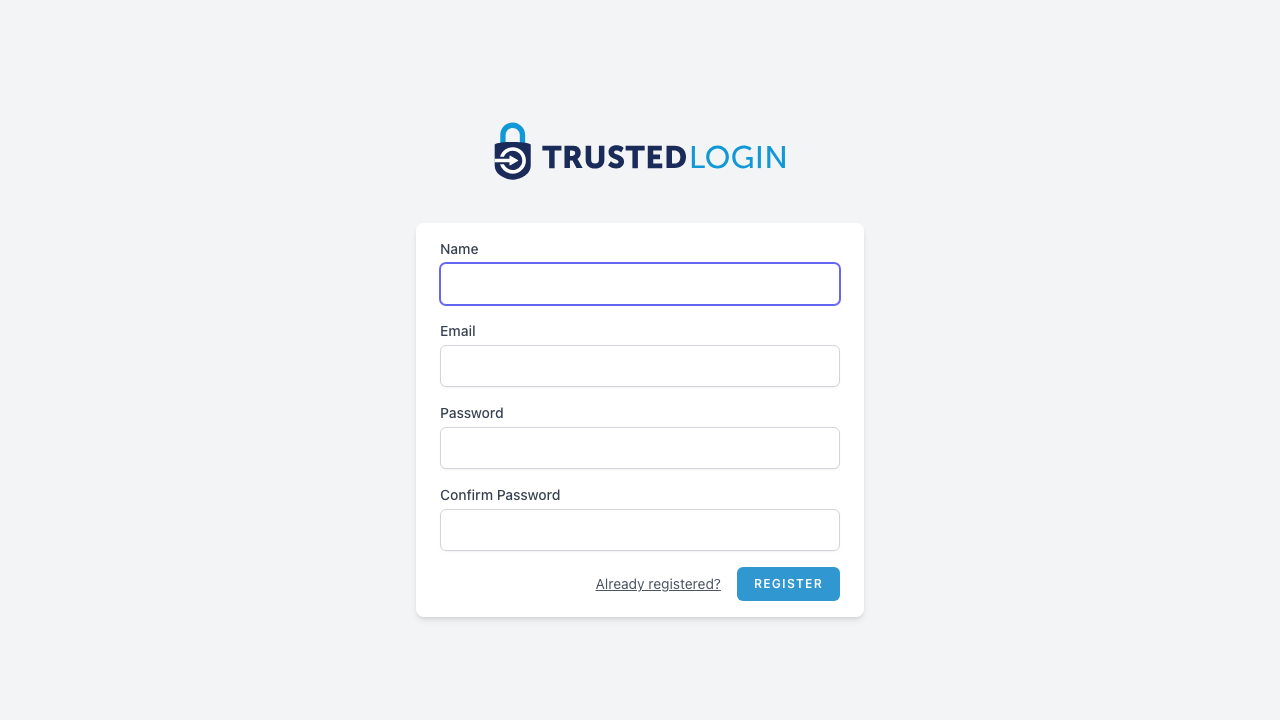
1. Create your account
Head to trustedlogin.com/register and enter your name, email address, and a password. Your email is how you'll log in, so use an address you check regularly.
Passwords need to be at least 16 characters. A long passphrase — something like three random words with punctuation — is much stronger than a short password full of special characters.
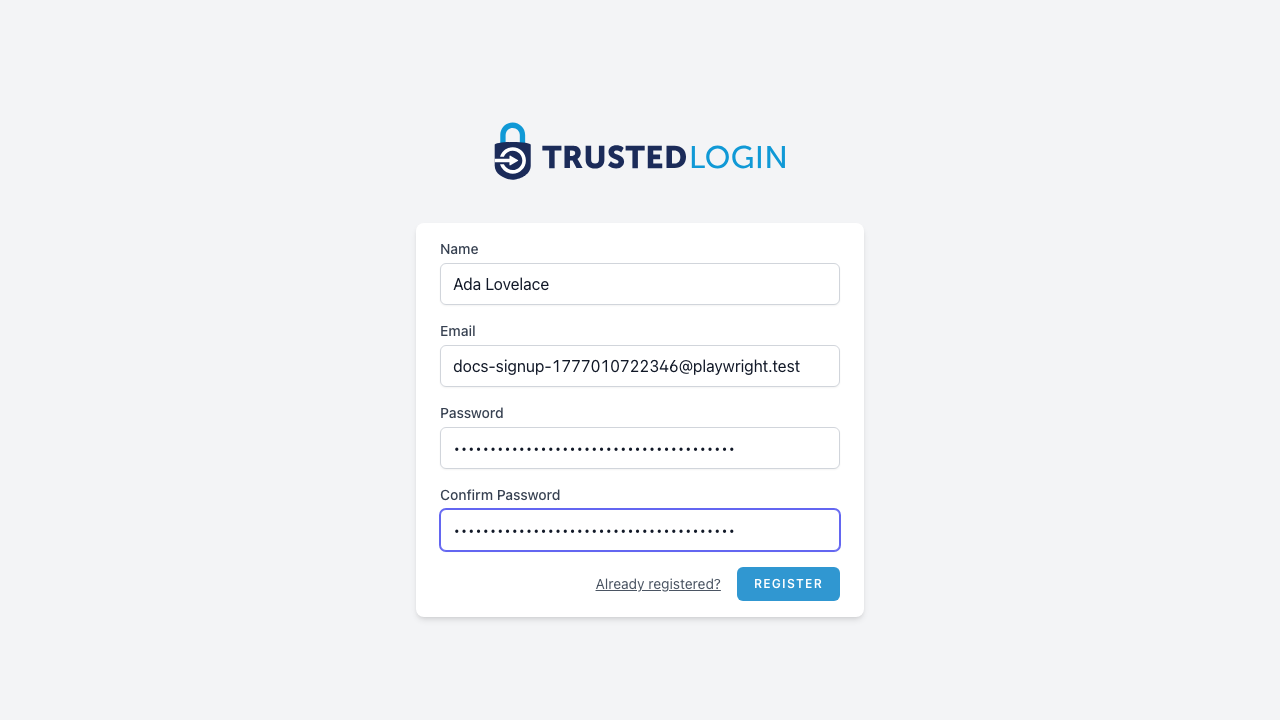
2. Review your details and register
Double-check your email address before clicking Register — it's harder to change later than to get right the first time. Click Register when you're ready.
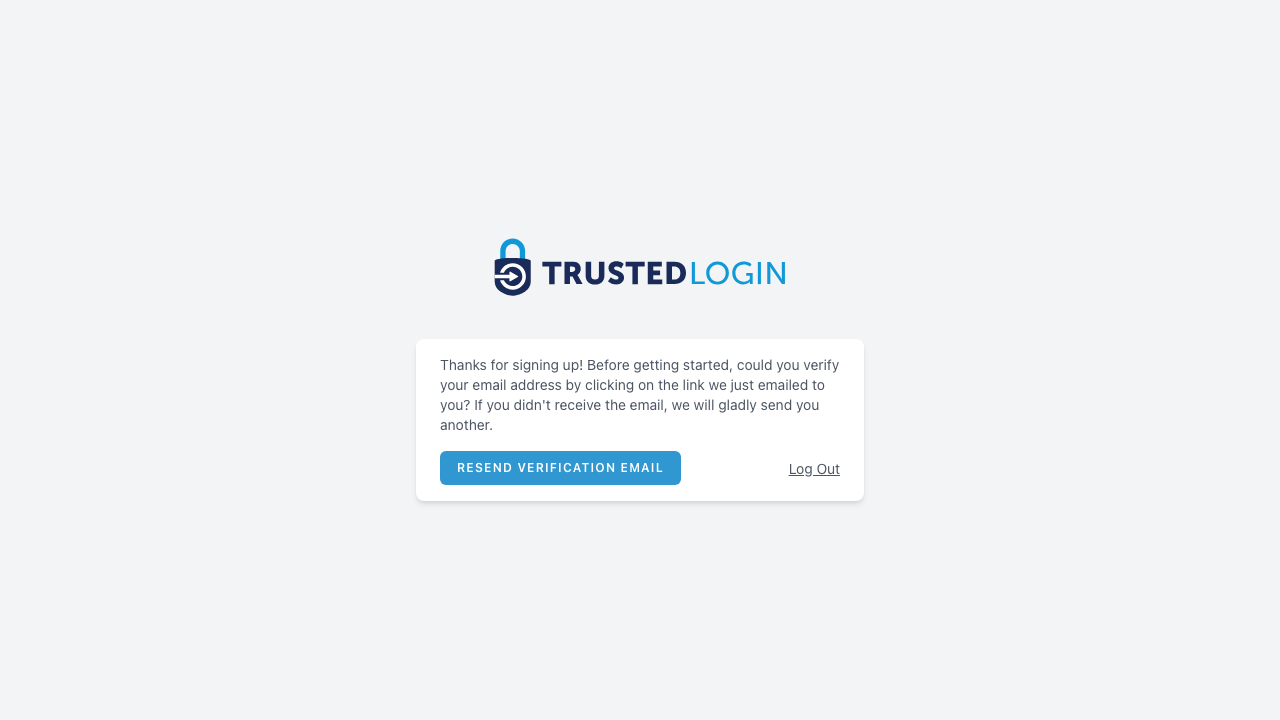
3. Verify your email address
We've just sent a confirmation email to the address you registered with. Open it and click the link to verify.
Didn't get the email? Check spam, then use Resend verification email to send it again. You can stay logged in while you wait — we just need the address confirmed before you can access your dashboard.
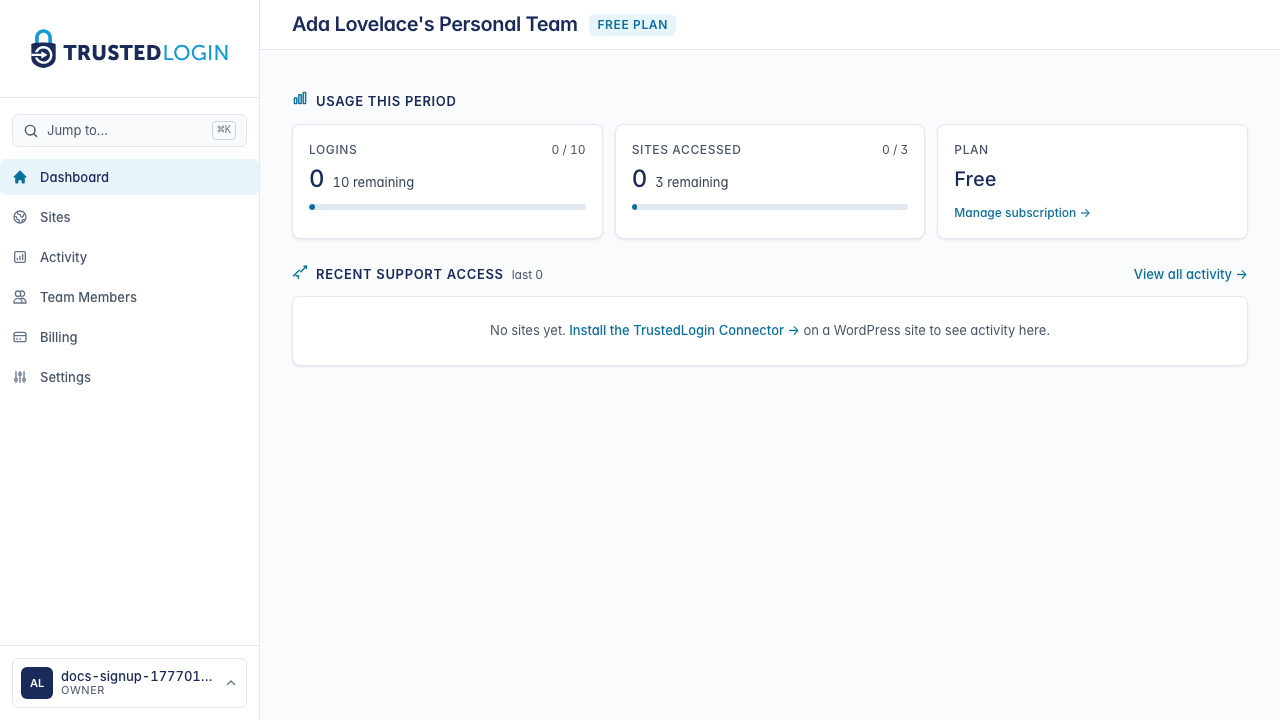
4. Welcome to your dashboard
This is your team's home. We've already created a personal team for you (named after you) on our free plan — 3 connected sites and 10 support logins per billing cycle, no credit card needed.
You don't have any sites yet, so the Recent support access card is empty. Your next step is to install the TrustedLogin Connector plugin on a WordPress site — the link in that card walks you through it.
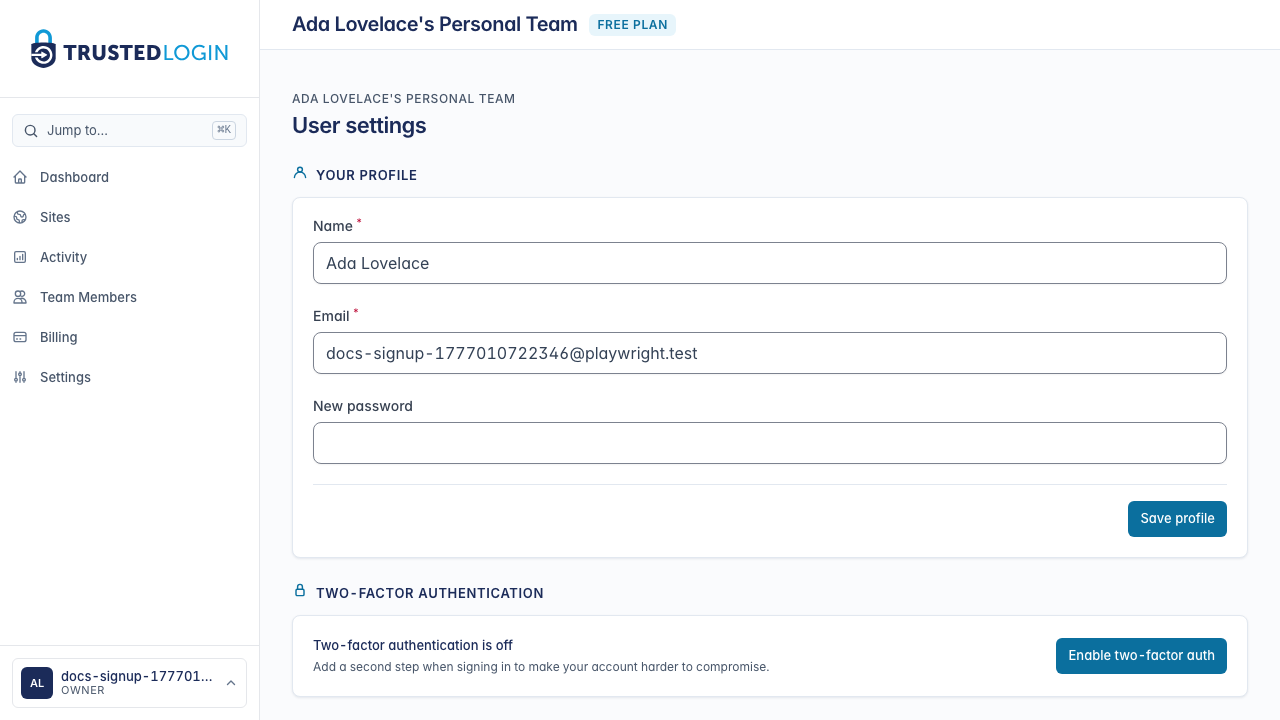
5. Set up your profile
Click your avatar or the User settings link to update your name, email, or password. Two-factor authentication (2FA) is also enabled here.
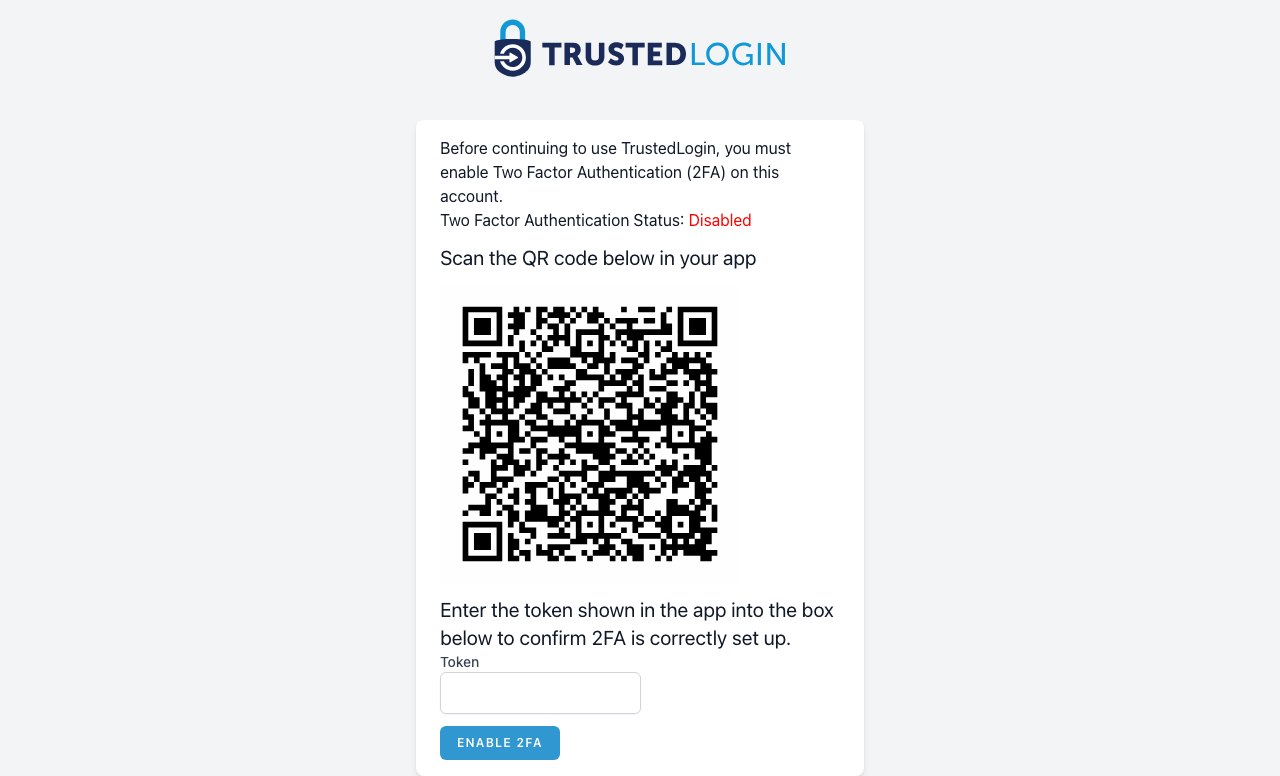
2FA is a second step when you sign in — a six-digit code from an authenticator app — so even if someone gets your password they can't get into your account. 2FA is required on TrustedLogin; you can't turn it off once you enable it.
6. Enable two-factor authentication
Scan the QR code with any authenticator app — 1Password, Authy, Google Authenticator, Microsoft Authenticator all work the same way. Your app will start showing a six-digit code that changes every 30 seconds.
Enter the current code from your app into the Token field and click Enable 2FA. That's it — from now on, you'll enter a code from your authenticator app every time you sign in.
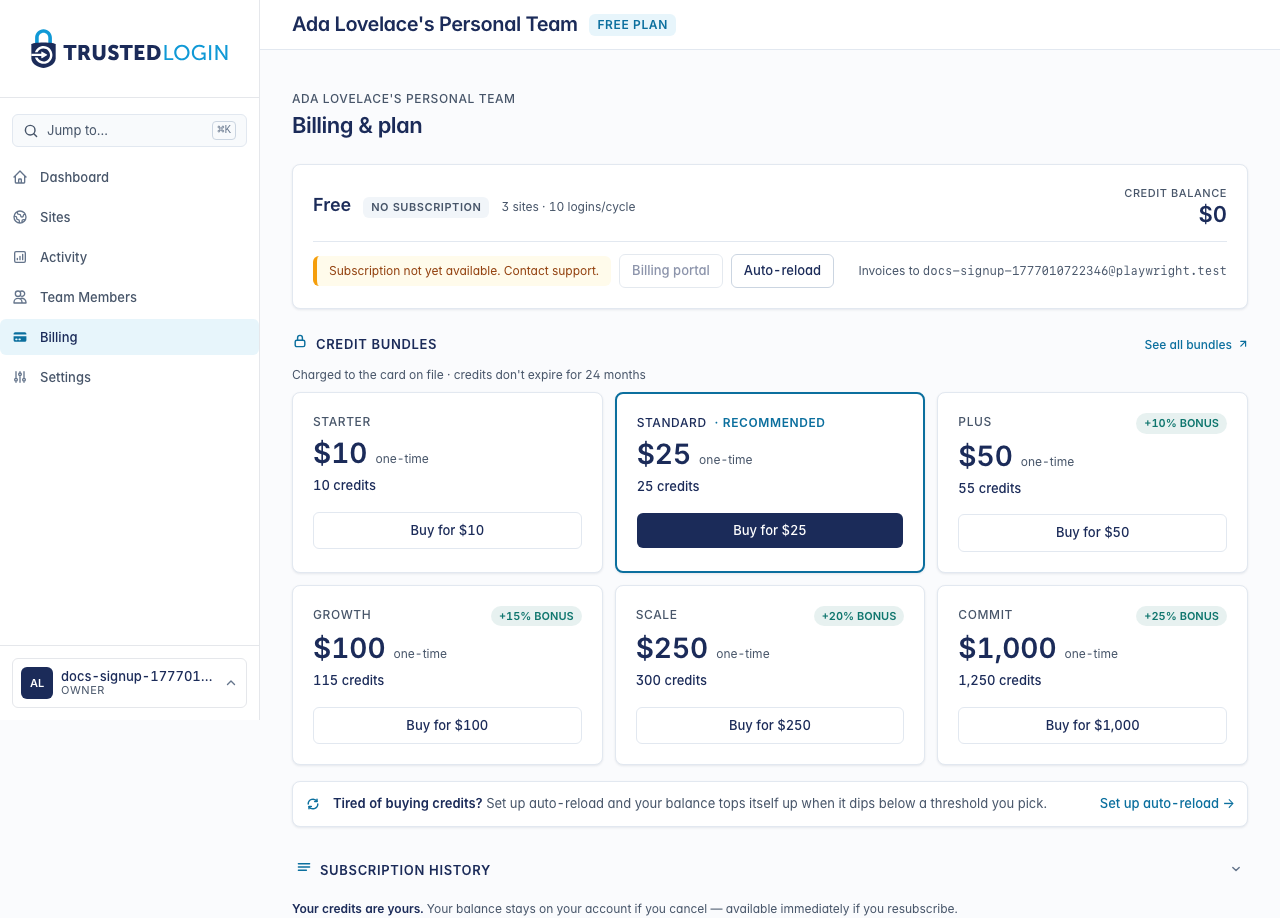
7. See your plan and buy extra credits
The Billing & plan page shows your current plan, credit balance, and a catalog of one-time credit bundles. Free-plan teams can buy a bundle any time to cover a one-off overage without committing to a paid plan — credits never expire while your team is active.
If you'd rather not think about topping up, scroll to the auto-reload section — it charges your card for a bundle automatically whenever your balance dips below a threshold you pick.
What to do next
- Install the Connector plugin on the WordPress site where you'll receive support requests.
- Add TrustedLogin to your plugin or theme so your customers can grant you secure access.
- Review our security model to understand how we protect credentials in transit and at rest.