Getting Started
Adding TrustedLogin to your project involves:
- Setting up an account on trustedlogin.com
- Configure your settings on TrustedLogin
- Install and configure the TrustedLogin Connector plugin
- Including and configuring the client SDK ("Software Development Kit")
Let's get started!
1. Create an Account on TrustedLogin.com
You will be sent an email to verify your email address. Once you've verified your email address, you can log in to TrustedLogin.
Note: Two-Factor Authentication (2FA) is required for all users with access to TrustedLogin.com. There is no way to disable 2FA.
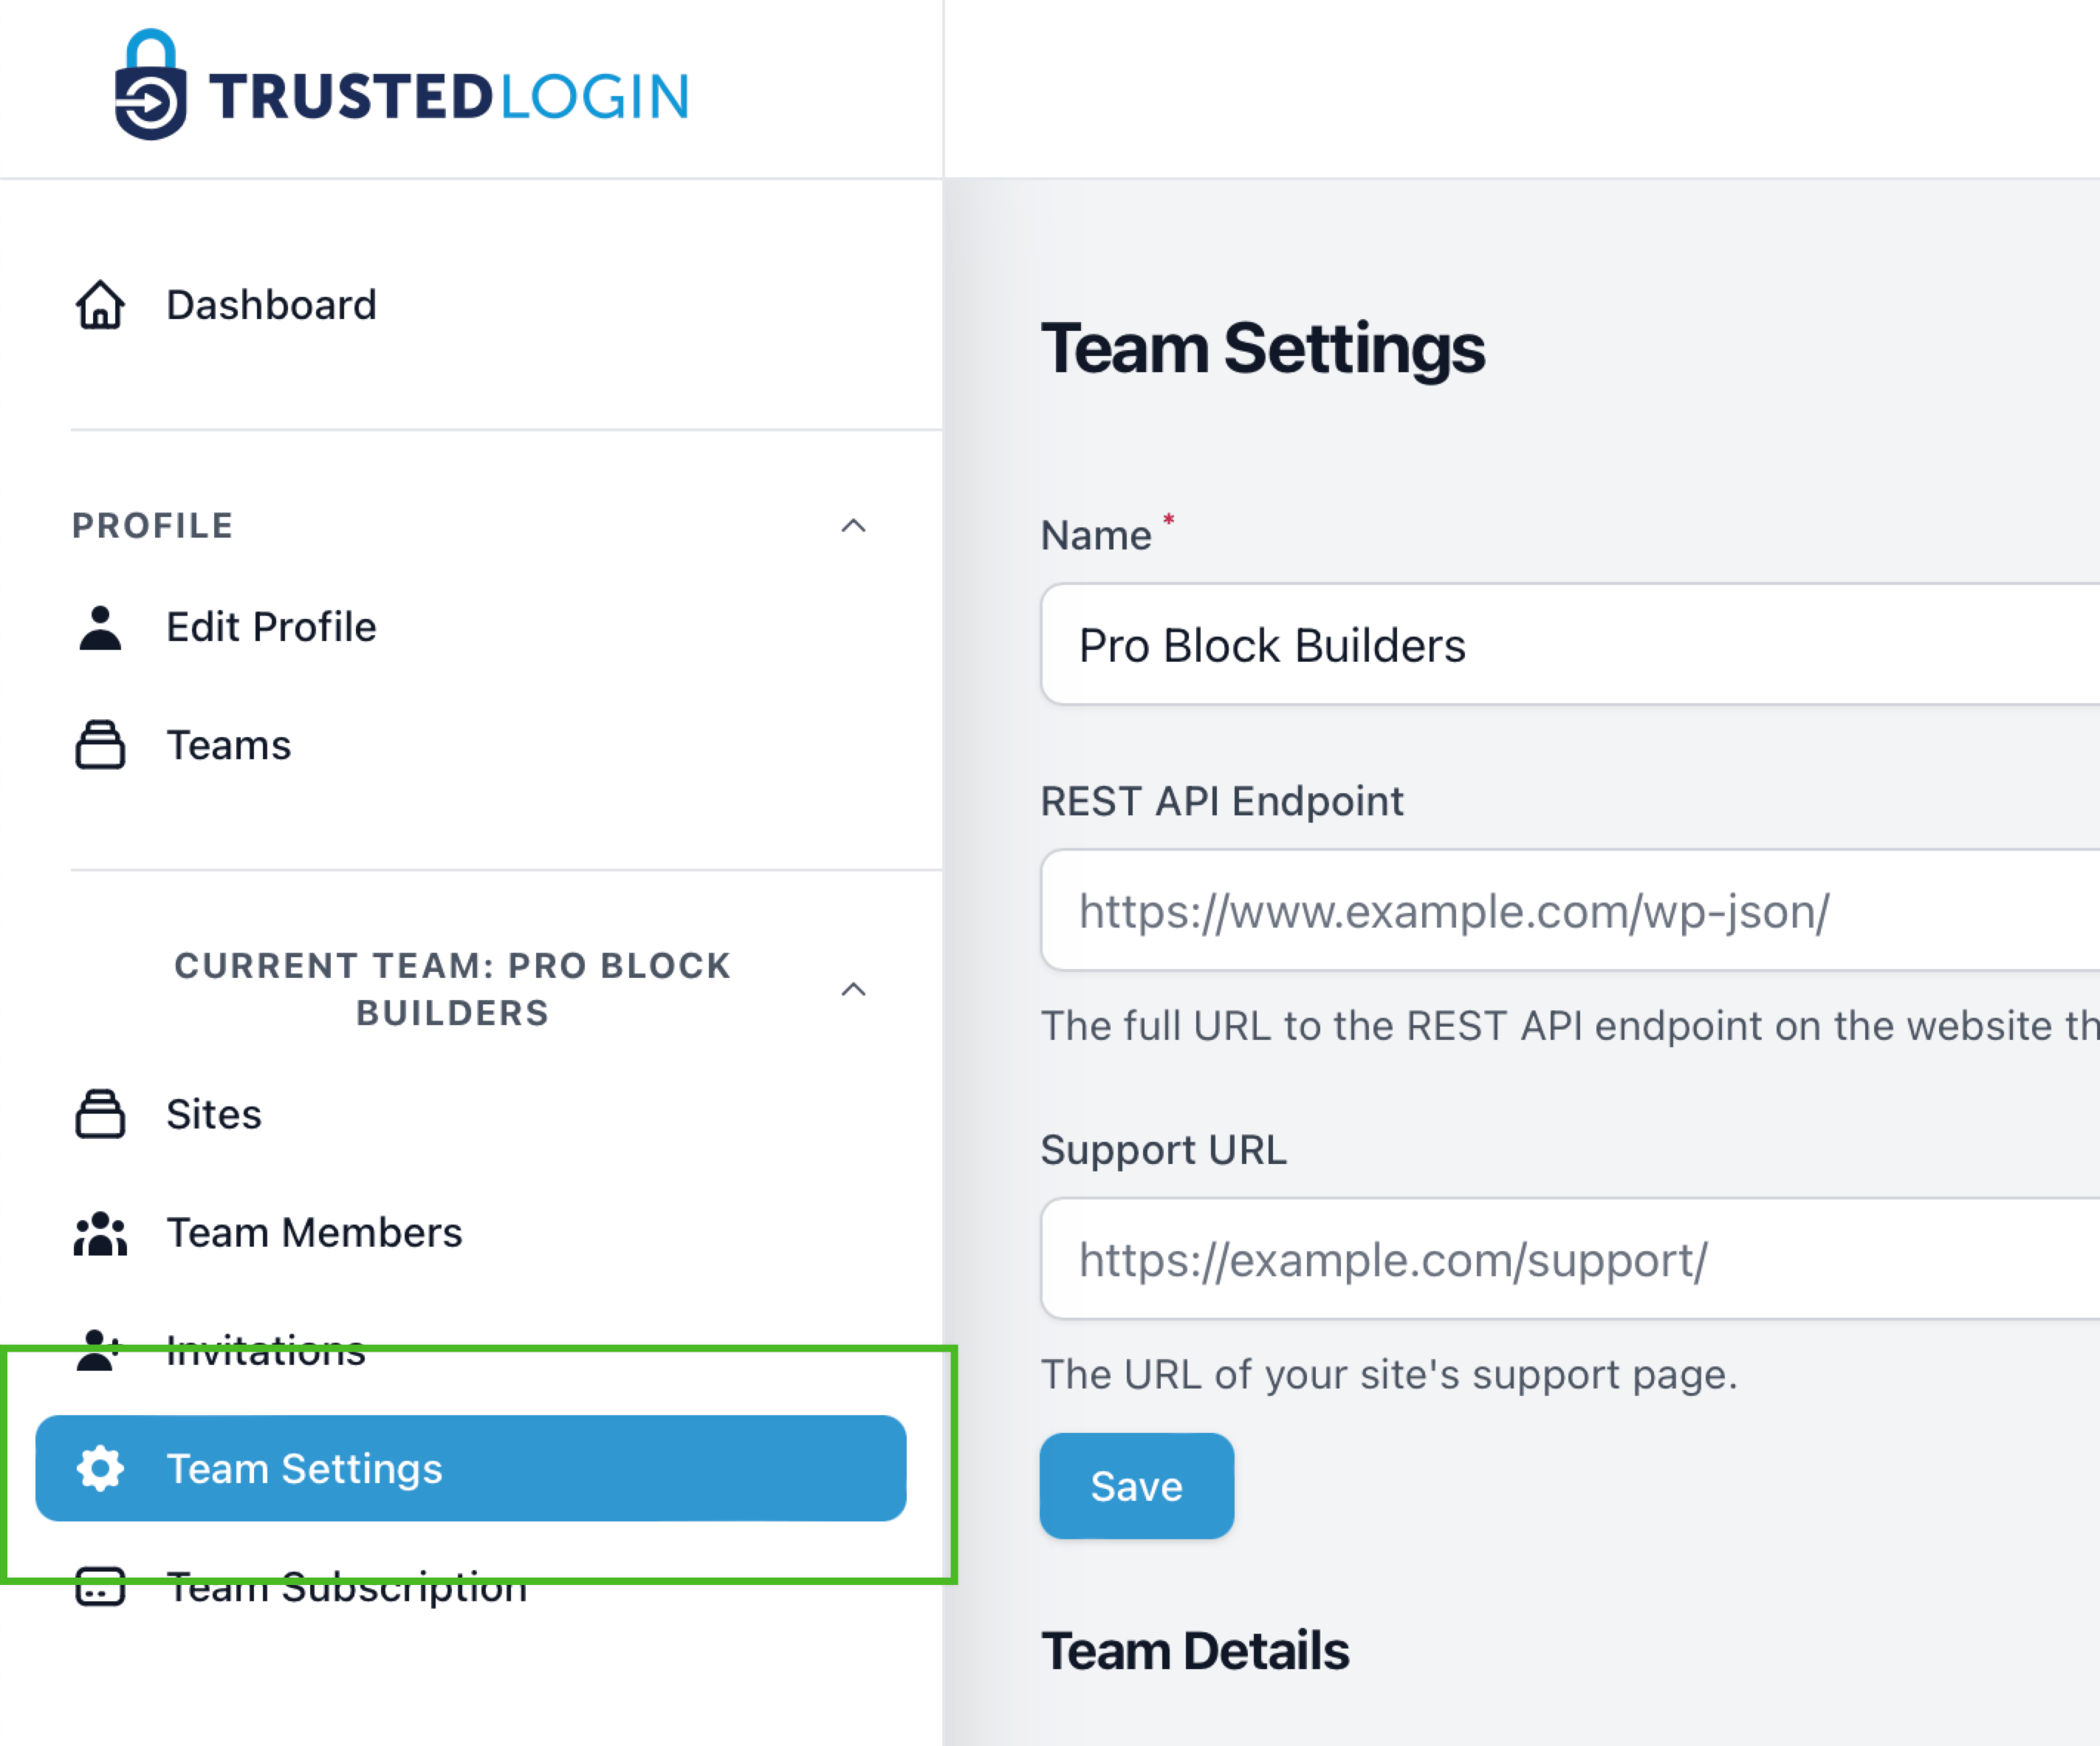
2. Configure your team settings on TrustedLogin
When you register, a starter team is created for you. You can create additional teams for each plugin, theme, or client you are working with.
Once logged-in to TrustedLogin's admin, click on the "Team Settings" link
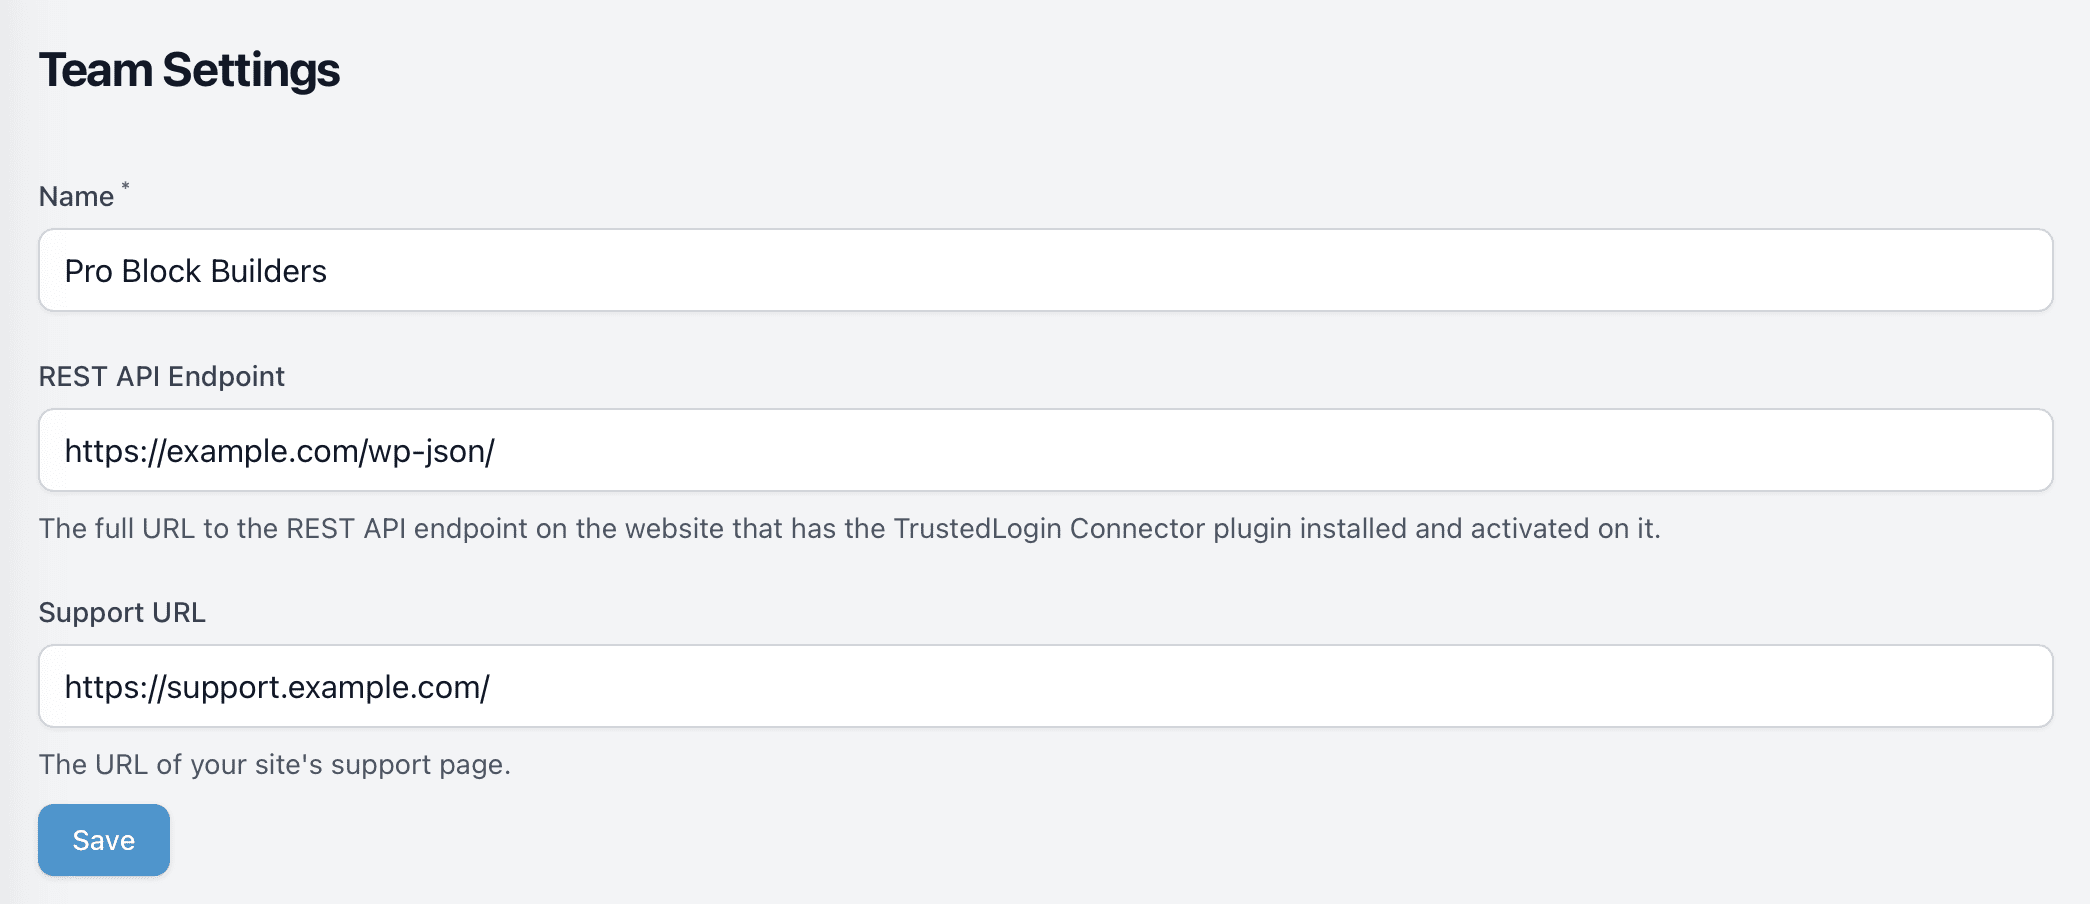
Name
Enter the name of your team. This could be the name of your plugin, theme, or client.
REST API Endpoint
Enter the full REST API URL path to the website where you will run the TrustedLogin Connector plugin.
This URL should include the path to the JSON REST API endpoint. For example, if your website is https://example.com, the REST API URL is, by default, https://example.com/wp-json/.
Support URL
Enter the URL to the support page for your plugin, theme, or client.
Save your settings
3. Install the TrustedLogin Connector plugin
Here, for example, is how GravityView's settings are configured:
Don't close the tab! We'll be coming back here to grab the Account ID, Public Key, and Private Key in the next step.
3. Install the TrustedLogin Connector plugin
The TrustedLogin Connector plugin is a WordPress plugin that you host on your own site. The Connector plugin is what makes TrustedLogin so secure: secrets are encrypted and decrypted using keys that are generated by the Connector plugin.
- Get the plugin from the WordPress.org plugin page — or download the latest ZIP directly
- Upload the plugin to your WordPress installation
- Click the new "TrustedLogin" menu item in the sidebar menu

Enter the Account ID, Public Key, and Private Key from TrustedLogin.com
Now configure the plugin using the Account ID, Public Key, and Private Key values from the TrustedLogin.com Team page.
In addition, select the WordPress user roles that should be able to use TrustedLogin. A common configuration is to allow Administrators and Editors to use TrustedLogin. These settings can be updated later.
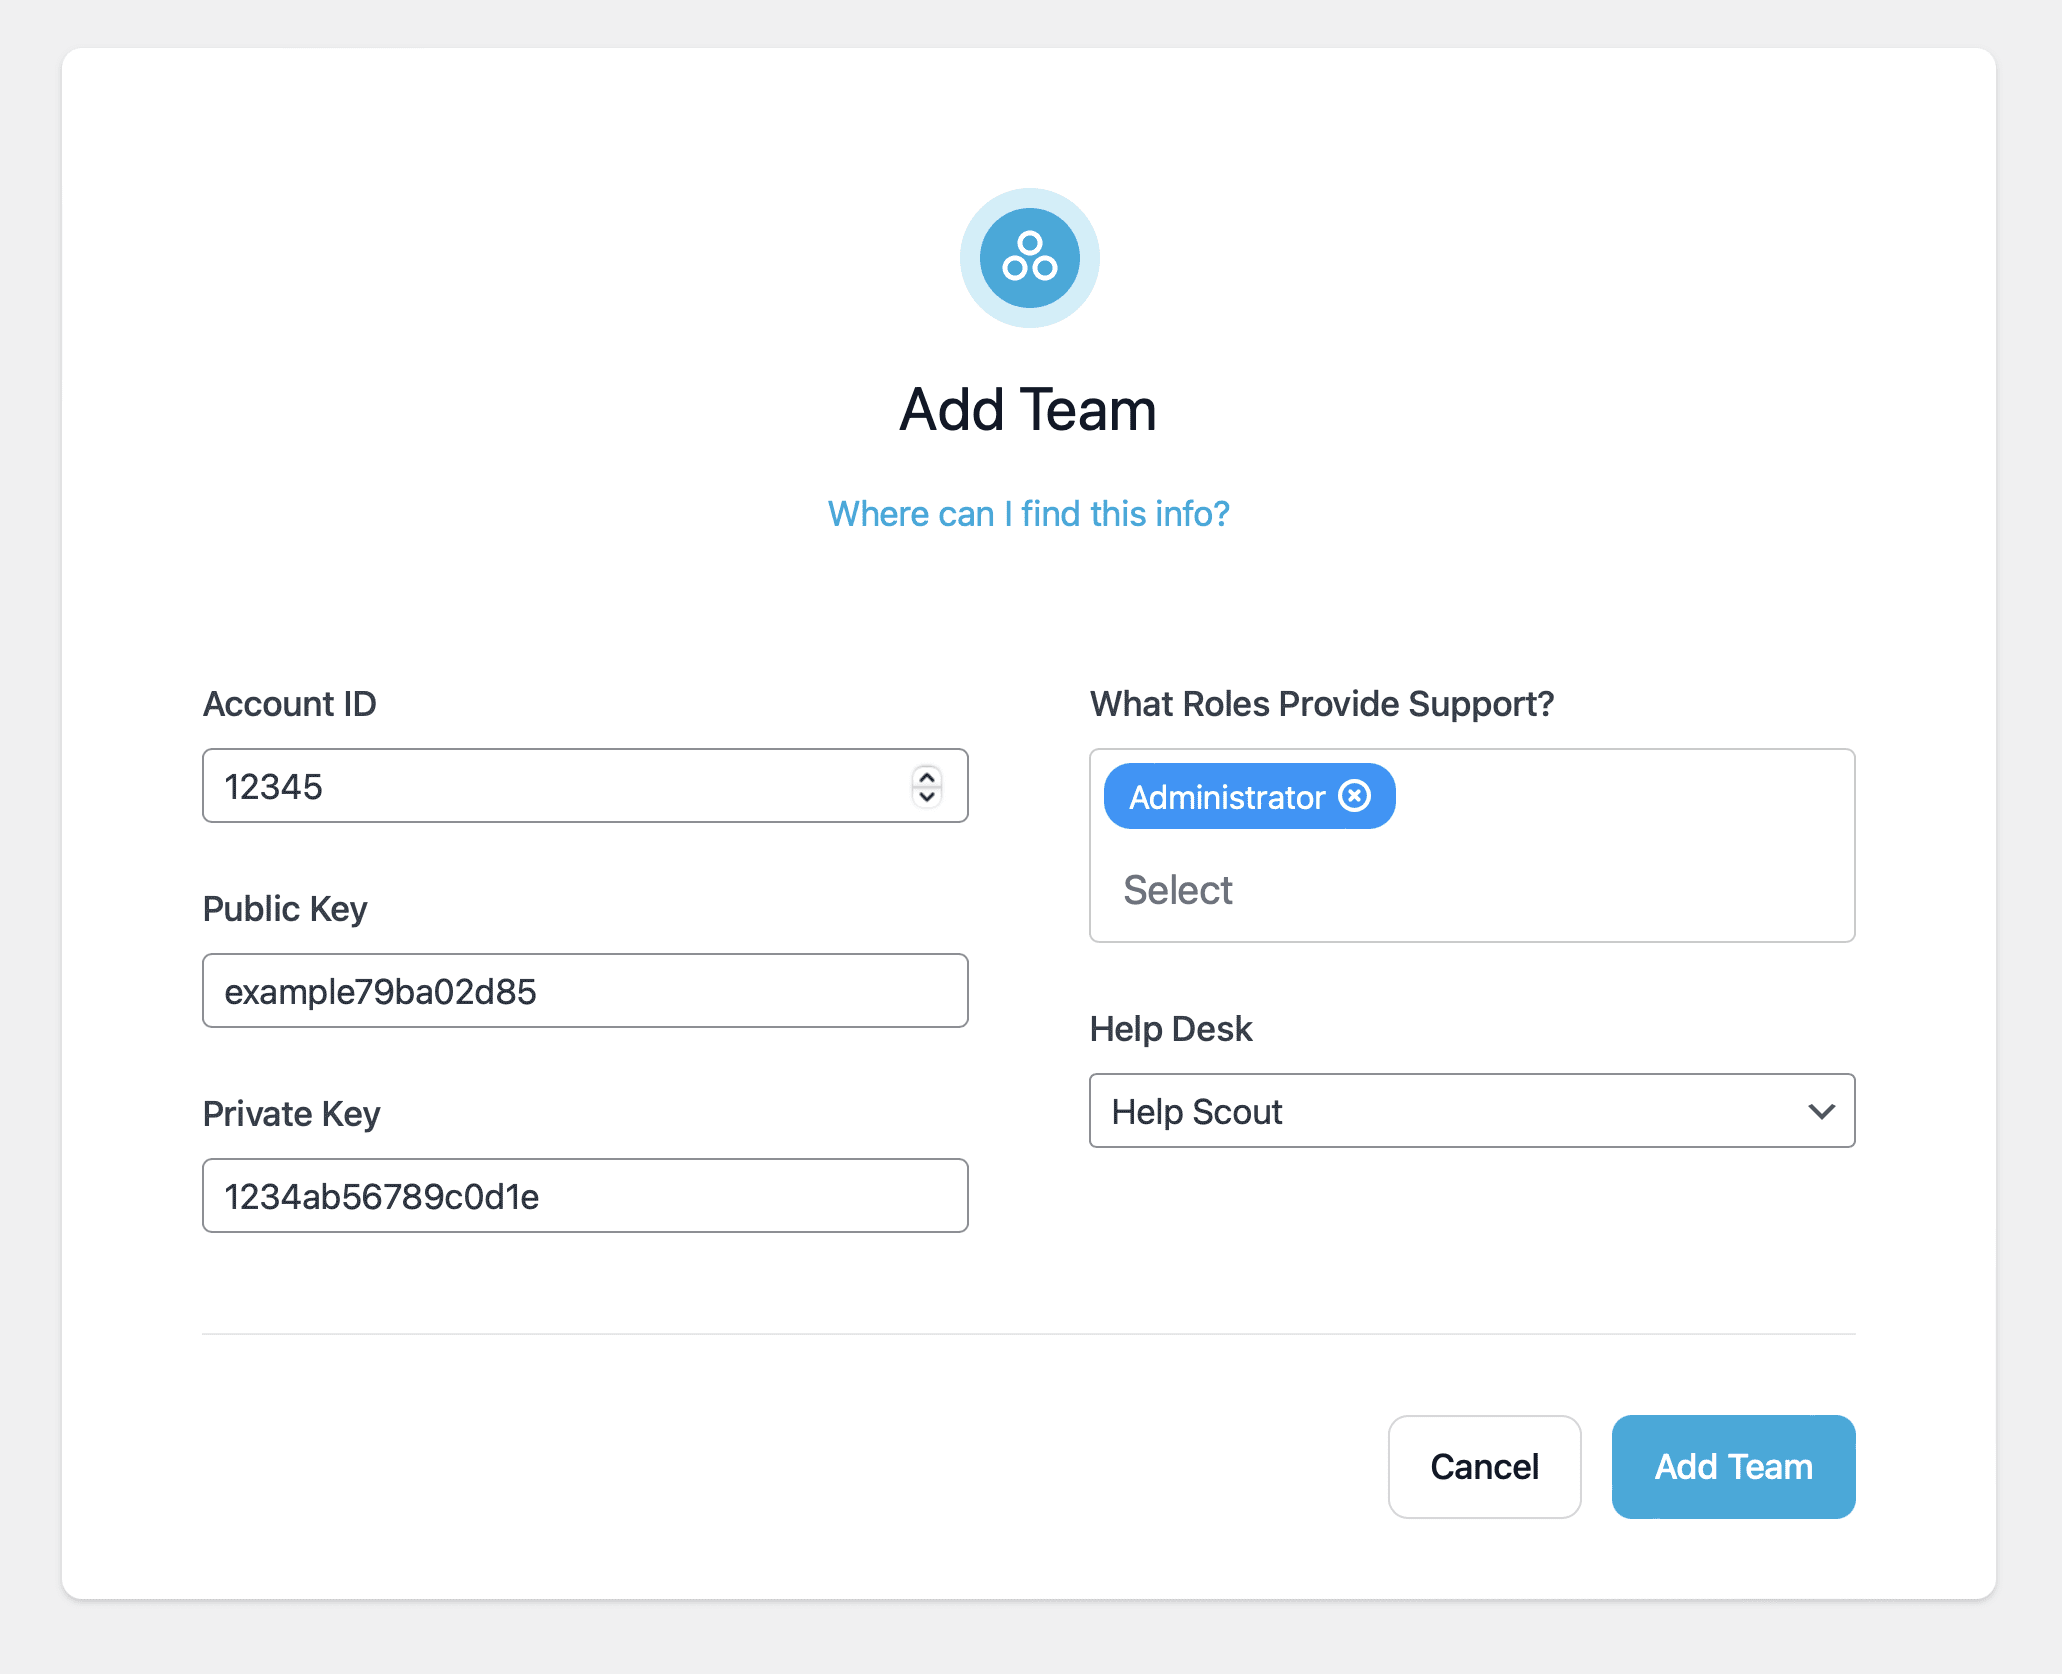
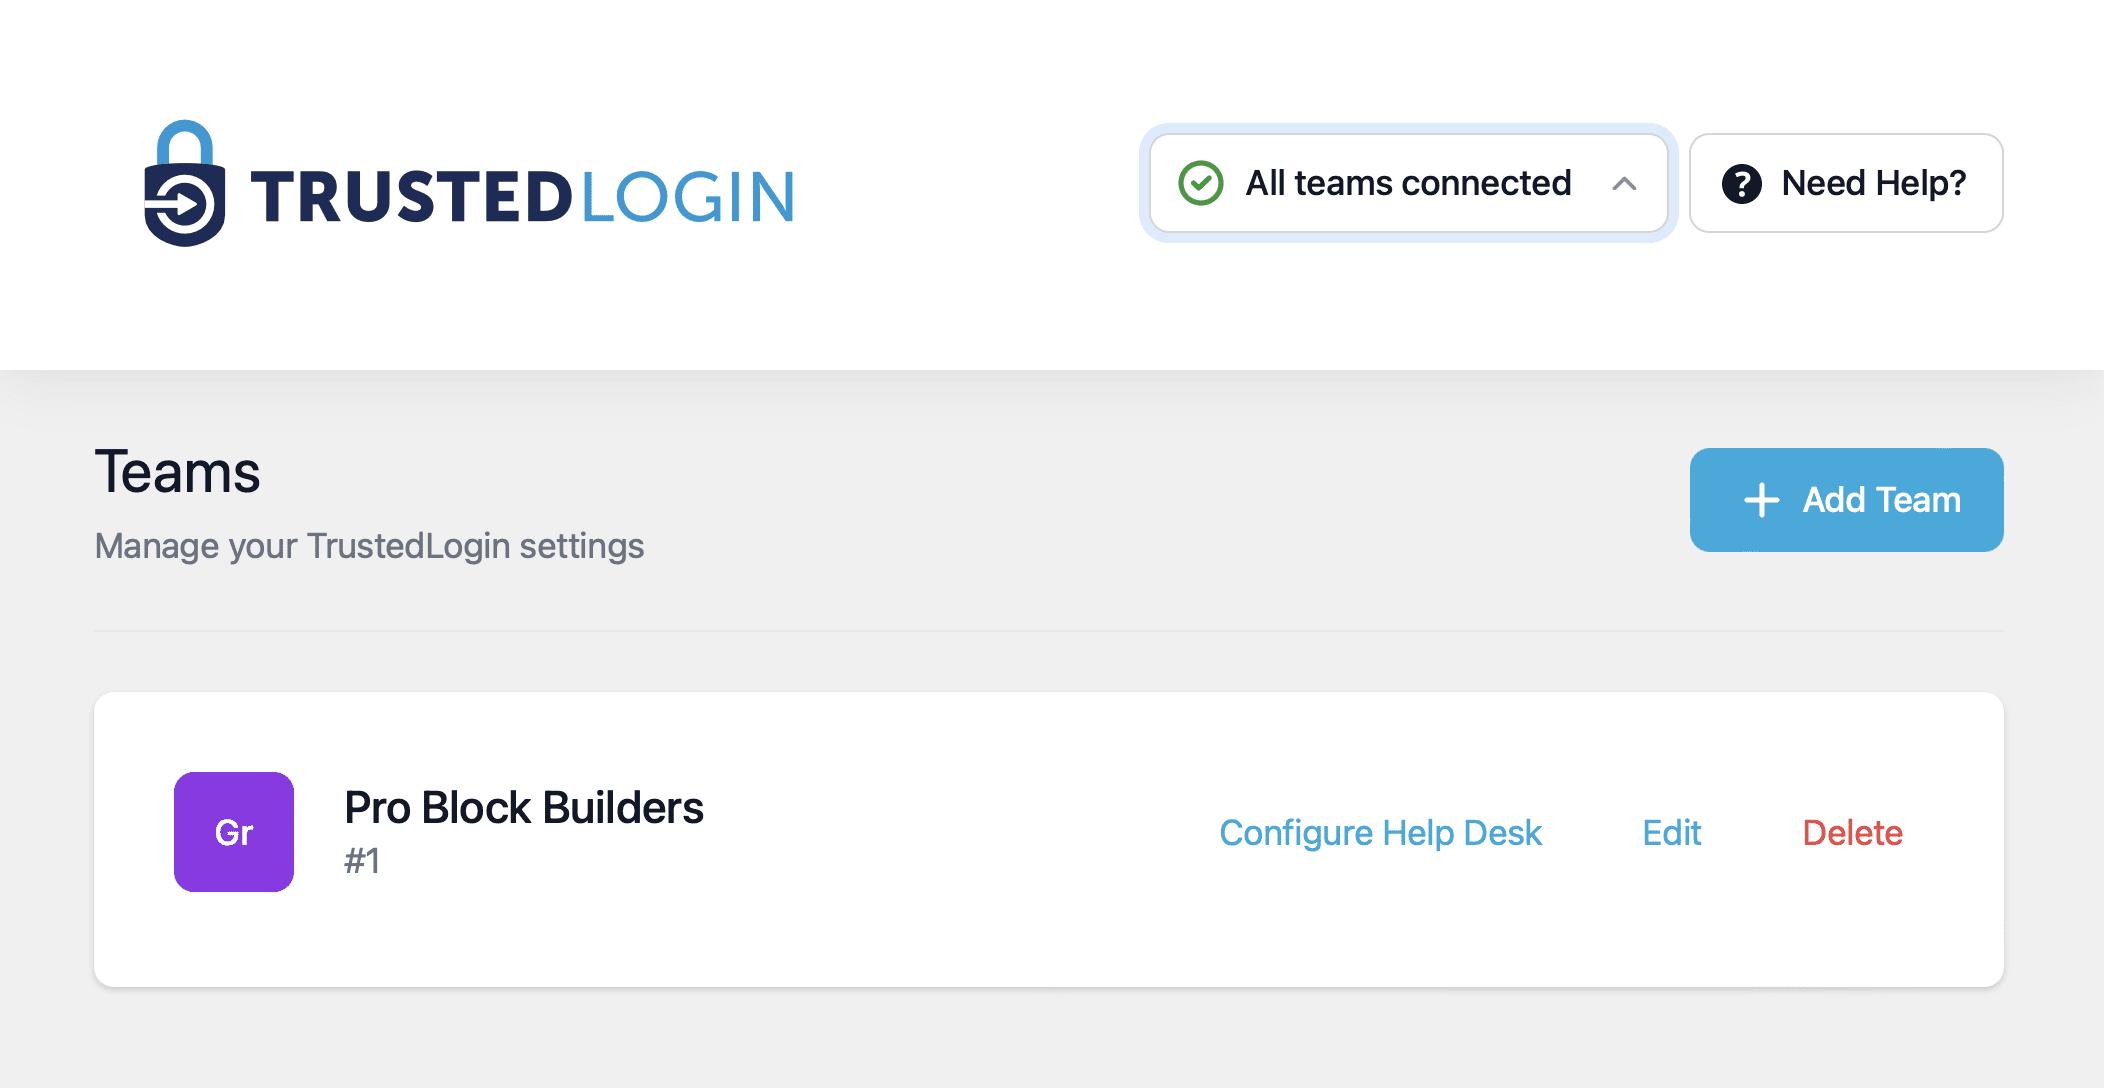
When a connection is successfully established, you will see "All Teams Connected" and see your team in a list.
If you don't see "All Teams Connected", enable logging
If you don't see "All Teams Connected", enable logging in the TrustedLogin Connector plugin settings. This will help you troubleshoot any issues.
- Go to the TrustedLogin menu, click Settings, enable Debug Logging.
- Then try connecting again.
- Go back to Settings and copy the path to the log file.
- Open the log file in your browser to see what's going on.
Make sure to disable logging when you're done troubleshooting. The log file can contain sensitive information.
4. You're ready to integrate with your plugin or theme!
Now check out the Client SDK Integration instructions for how to integrate with your plugin or theme.